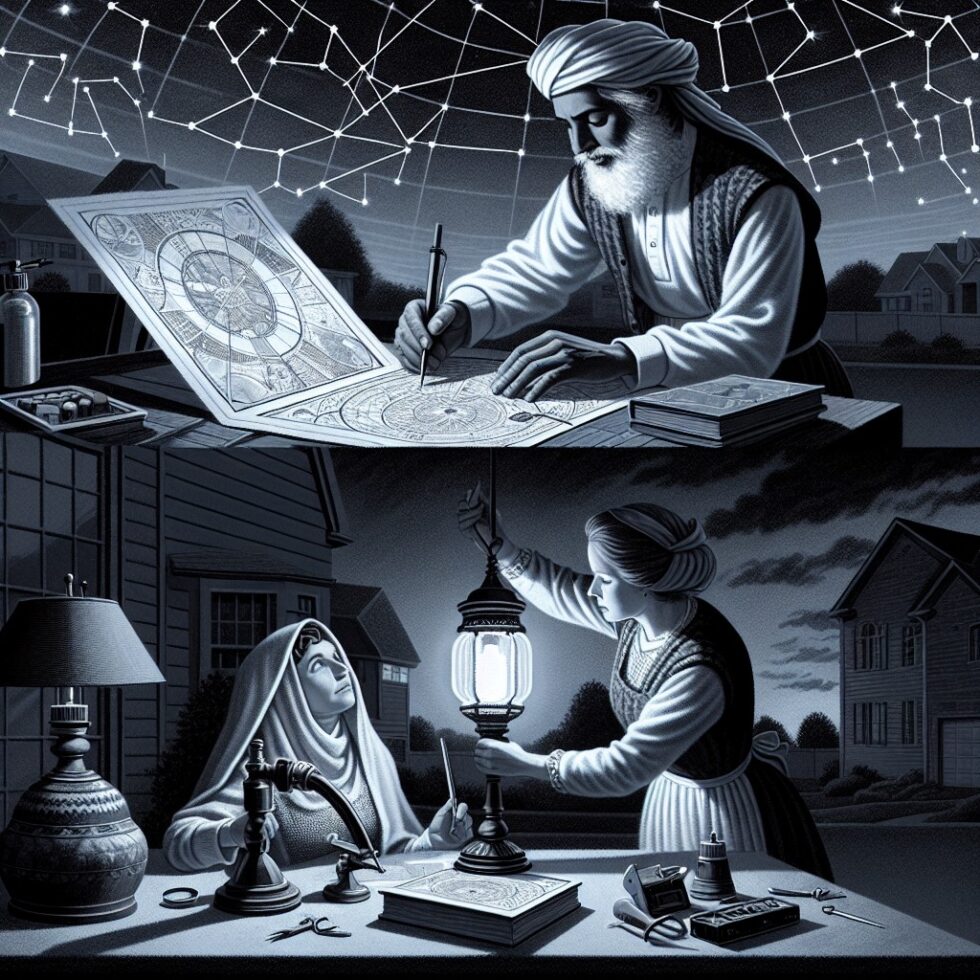
On most clear nights, the sky above our homes glows grey instead of black. The sparkle of the Milky Way is gone from many towns, and even small cities now hide bright constellations. The good news is that skyglow is not a permanent feature. It is a local, fixable problem that responds quickly to better lighting choices. You do not need a PhD in astrophysics or a big budget to help. You just need a plan.
This article shows you how to measure your local light pollution with simple tools, log repeatable data, and reduce the sources that matter. Think of it as a neighborhood science project with a clear payoff: darker skies, safer sidewalks, and a calmer night for wildlife and people.
Why measure the night instead of just turning lights off?
Light pollution is a mix of direct glare, light trespass onto private spaces, and diffuse skyglow reflected by the atmosphere. You can cut it a lot with better fixtures and smarter schedules. But to know if you’re improving, you need numbers. Numbers make it easier to convince neighbors, HOAs, schools, and local businesses. Numbers also help you separate real gains from weather noise.
Benefits you can feel within weeks
- More stars for everyone: When you shield light at the source and warm the color, skyglow drops. In many places you can double the number of visible stars on a good night.
- Healthier nights: Cooler, blue-rich light disrupts sleep and wildlife behaviors more than warm light. Warmer light, used only when needed, supports better circadian rhythms.
- Safer, clearer visibility: Overbright, unshielded lamps create harsh contrast and shadows. Directed, right-sized light reduces glare and helps eyes adapt.
- Lower bills, lower maintenance: Less spill, shorter run times, and dimming all save energy and extend fixture life.
What you will (and will not) measure
You will measure sky brightness in standardized ways and keep track of conditions like moon phase, cloud cover, and snow on the ground. You will not try to measure everything about your lighting system at once. Start simple and scale up.
Three ways to measure your sky
You can begin tonight with just your eyes. You can add a smartphone for calibrated photos. The best next step is a purpose-built meter. Use what you have; upgrade later if you get the bug.
1) Naked-eye limiting magnitude (NELM)
What it is: The faintest star you can see at zenith under the current conditions. Citizen science projects like Globe at Night use pattern matching to estimate this number.
How to do it well
- Pick a clear night with no Moon or a Moon below the horizon.
- Let your eyes adapt for 10–15 minutes. Avoid looking at phones or lamps.
- Use a printed star chart or the official pattern guide from a citizen project.
- Record the time, location, temperature, and whether there is snow, haze, or cloud.
Pros: Free, fast, very accessible. Cons: Subjective and sensitive to eye adaptation and training, so it’s best as part of a longer log.
2) Smartphone sky photos (RAW preferred)
What it is: A repeatable photo at fixed exposure that lets you compare sky brightness over time. On newer phones, you can shoot in RAW to capture linear sensor data.
How to do it well
- Turn off night modes and auto-HDR if possible. Use manual or “pro” mode with fixed ISO and shutter.
- Point near zenith, not at bright lamps or the horizon. Use a small tripod or rest the phone on a fence post.
- Choose a fixed recipe, such as ISO 800, 10 seconds, f/1.8 (or your lens’s fixed aperture), and keep it consistent.
- Save RAW (DNG) if your phone supports it. If not, keep JPEG settings consistent.
- Compare images by histogram and average pixel value. Count how often the histogram is bunched on the left (dark) versus mid-tones (bright).
Pros: Cheap, shareable visuals that persuade neighbors. Cons: Not absolute. You’ll need to control settings carefully to make comparisons fair.
3) Sky Quality Meter (SQM)
What it is: A handheld meter that reports sky brightness in magnitudes per square arcsecond (mag/arcsec²). This is the standard for skyglow monitoring.
How to do it well
- Stand in the same spot each time and face the sensor straight up.
- Take a burst of 5–7 readings and average them. Note the reading range (e.g., 18.9–19.1).
- Log moon phase, cloud cover, humidity, and any snow or haze. All can skew results.
- Repeat weekly or after a lighting change (e.g., you installed shields) to see deltas.
Pros: Simple, repeatable, widely accepted. Cons: Costs money and requires careful handling and logs to get consistent value.
Make your measurements tell a clear story
Once you have a few nights of data, you can turn numbers into action. The trick is to separate variable conditions from real improvements and make your log easy to read by anyone—neighbors, school staff, a building manager, or a city council volunteer.
Build a lightweight logbook
- Columns to include: Date/time, location (coordinates or address), method (NELM/phone/SQM), reading, moon altitude/phase, cloud percentage, snow/haze, temperature, and notes on nearby lighting changes.
- Target cadence: One reading per week from the same spot. Add ad hoc readings after any lighting change.
- Back up: Keep a cloud copy or a shared spreadsheet so others can add their own readings.
Use a simple baseline and test design
- Baseline: 3–4 weeks of readings with no changes. This is your control.
- Intervention: Make one change—shield your porch light, adjust a timer, or swap to a warmer bulb—and continue weekly readings for 3 weeks.
- Compare: Look for a consistent shift darker in similar conditions (same moon, clear sky). Repeat with the next change.
Visuals that persuade
- Before/after panels: Use your phone photos to create side-by-side images with the same exposure.
- Simple charts: Plot SQM readings over time. Annotate when a change happened.
- Star counts: Overlay your NELM estimates on the same chart to show agreement in the trend.
Fixes that work at home
You don’t need to go dark. You need to be deliberate. Good lighting has five key traits: it is useful, targeted, low, warm, and timed.
Shield, aim, and dim
- Full-cutoff fixtures: Choose housings that block all light above horizontal. No visible bright bulb at eye level.
- Aim the beam: Angle fixtures down to hit the path, not the shrubs or windows. If you see the bulb from across the street, it’s likely mis-aimed.
- Right-size the lumen output: Start with the lowest-brightness bulb that meets your task. For porches, ~300–500 lumens is often enough.
- Dim at night: If your fixtures support it, use a lower level after bedtime.
Choose warmer light
- Lower CCT: Select ≤ 2700K for general outdoor areas. For late-night path lighting, consider 2200K “amber” LEDs.
- Spectrum matters: Warm LEDs have less blue content, reducing skyglow and circadian disruption.
Use smart timing, even without a smart home
- Motion with a minimum: Use short motion activations rather than all-night on. Set a dim “pilot” level only if needed for safety.
- Timers or photocells: Put lights on schedules or dusk-to-midnight cycles. Avoid dusk-to-dawn unless it’s truly necessary.
- Group control: For multiple fixtures, one timer for the circuit simplifies scheduling.
Block the line of sight
- DIY shields: Simple baffles or visors can stop sideways glare from existing fixtures. Many manufacturers sell snap-on shields. You can also fabricate small side shields from metal or durable plastic and attach them with screws or brackets.
- Window shading: Close curtains or add black-out liners for rooms facing bright public lights, especially for kids’ bedrooms.
Fixes that work with neighbors and buildings
Most of the glow you see is not from your porch—it’s from street lights, parking lots, and building facade lighting. This is where your measurements and photos matter most. They help you ask for specific improvements instead of arguing about tastes.
Start with a friendly, specific ask
- One fixture at a time: Pick the worst offender—a glaring wall pack or a tilted floodlight.
- Offer options: “Could we add a shield?” or “Could we swap to a 2700K bulb?” or “Could we point it down?”
- Bring evidence: Before/after photos from your own house can show that warm, shielded light still looks good.
Apartment and HOA strategies
- Share your log: A short, visual report with weekly readings gets attention.
- Reference best practices: The “five principles” of responsible outdoor lighting are easy to adopt in guidelines.
- Start with pilots: Suggest a trial on one building face or courtyard for one month, then review.
Schools, churches, and small businesses
- Parking lots: Ask about full-cutoff replacements or retrofits for cobraheads and floodlights. Lower mounting heights can reduce glare.
- Schedules: Lights that stay on until dawn are often just left in that state by default. A simple midnight shutoff cuts hours in half.
- Security assessment: Brighter is not automatically safer. Aim for uniform illumination without harsh hotspots.
Go beyond your block: map and compare
It’s satisfying to watch your own backyard get darker. It’s even better to see how your improvements fit the bigger picture. The same data you collect can join larger maps and projects.
Use satellite and community maps
- Satellite night lights: The VIIRS Day/Night Band shows regional light emissions. It updates over time, so you can see broad trends.
- Light pollution atlas: Global maps combine satellite data and ground reports to estimate sky brightness. Use them to pick observing spots or track change.
- Citizen science campaigns: Submit NELM or SQM readings to public projects, and learn from others nearby.
Compare apples to apples
- Same conditions: A moonlit night is not equivalent to a moonless one. Snow doubles or triples skyglow. Use notes to filter.
- Same geometry: Zenith readings avoid stray light from street lamps and buildings.
- Same settings: For phones and cameras, keep exposure constant. If you change it, start a new series.
Seasonal timing that amplifies your results
Weather and the Moon can bury the signal from your fixes. If you time your efforts, you will see clearer results and help more than just yourself.
Best windows for measuring change
- New Moon periods: Target the week centered on new moon each month.
- Snow-free nights: Snow cover can make the sky several times brighter. If you must measure in winter, tag it clearly.
- After midnight: Many businesses turn lights off later in the night. Readings then show your local residential baseline.
Coordinate with wildlife “lights out” efforts
- Spring and fall migrations: Ask your building, school, or HOA to adopt a “lights out” pledge during peak weeks. Shielding plus turn-off schedules help birds avoid fatal confusion.
- Window collisions: Pair lighting changes with simple window markers on big glass facades to reduce bird strikes.
Common myths to leave behind
Changing lighting habits can stir opinions. Clear, simple facts help everyone move forward together.
“Brighter lighting is always safer”
Not necessarily. Glare reduces your ability to see faces and hazards just outside the bright pool of light. Even, lower illumination with good contrast is often better for safety than a few blinding hotspots.
“Blue-white LED looks modern, so it must be better”
The “better” part depends on the job. For outdoor night lighting, warmer LEDs usually strike the right balance of visibility, comfort, and reduced skyglow. Modern warm LEDs are efficient; you don’t need cool color for efficiency.
“Motion lights bother neighbors, so leave lights on all night”
Motion lights only bother neighbors if they are too bright, unshielded, or trigger-happy. Set a modest brightness, narrow the sensor’s field, and set a short time-out. You get light when you need it and darkness when you don’t.
A starter kit that fits any budget
Here’s a simple way to structure your first month, with options for every budget.
Week 1: Observe and log
- Free: Do a NELM count on a clear, moonless night. Start a shared log with a neighbor.
- Low-cost: Add fixed-exposure phone photos. Tag conditions carefully.
Week 2: Fix your own fixtures
- Free: Re-aim floods downward. Turn off lights after midnight.
- Low-cost: Swap to 2700K bulbs. Add a plug-in timer. Install a clip-on shield.
Week 3: Measure again and document
- Free: Repeat NELM and photos. Create before/after panels.
- Low-cost: If you bought an SQM, take a burst of readings and chart them.
Week 4: One polite ask outside your home
- Free: Share your short report with a neighbor or building manager. Offer to help with a pilot.
- Low-cost: Buy a shield for a neighbor’s worst glare offender as a goodwill gesture (with permission).
If you want to go deeper
Once you find the fun in measuring the night, you can add rigor without making it complicated.
Add redundancy
- Two methods: Pair NELM with SQM or phone photos to cross-check trends.
- Two sites: Measure from your yard and a nearby park to separate local glare from regional skyglow.
Calibrate your workflow
- Phone photo consistency: Use a printed grey card in a few test shots to check that your camera’s processing doesn’t drift across updates.
- SQM cross-check: If you have access to a second meter, take simultaneous readings to spot any offsets.
Share and compare responsibly
- Privacy first: When sharing maps, avoid posting exact home addresses. Use a nearby landmark or generalized area.
- Open data: Share CSVs with clear column names so others can reuse your data and methods.
Quick fixes for common problem fixtures
Some lights cause a lot of harm for little benefit. Here’s how to triage them.
Unshielded wall packs
- Symptom: A bright rectangle on a wall that spills in all directions.
- Fix: Replace with a full-cutoff model or add a compatible shield. Dim and warm if possible.
Tilted floodlights
- Symptom: A flood aimed upward or sideways, sending light into eyes and the sky.
- Fix: Aim down to the target area. Use the lowest brightness that lights the path.
Overbright porch bulbs
- Symptom: A bare bulb visible from the street, glowing like a beacon.
- Fix: Use a shaded fixture or a lower-lumen, warmer bulb. Add a timer.
Make it fun: events and small wins
Light pollution work can be joyful. Try a “star hour” on your block. Everyone turns off non-essential outdoor lights for 60 minutes on a moonless evening. Bring hot chocolate, telescopes, or binoculars. Take your readings before, during, and after. Little proofs add up to big changes in habits.
Summary:
- You can measure light pollution tonight with your eyes, a phone, or an SQM. Consistency beats complexity.
- Log conditions (moon, clouds, snow) so you can compare readings fairly over time.
- Fixes that work: full-cutoff fixtures, warm light (≤2700K), right-sized brightness, smart timing, and shields.
- Use before/after photos and simple charts to persuade neighbors and building managers.
- Coordinate with seasonal “lights out” efforts to help wildlife and see clearer gains.
- Share your data with community projects and maps to see the bigger picture.