Most people want cameras for one job: see what happened and keep a copy. The problem is that many consumer systems send video to the cloud, miss events, or fail when the Wi‑Fi hiccups. You can do better with a private, wired network video recorder (NVR) that lives in your home. It costs less than you think, runs without subscriptions, and can add local AI detection for people and vehicles—no external servers, no data leaving your network.
This guide walks you through a reliable setup: how to plan coverage, choose cameras, size your PoE switch and storage, pick NVR software, add smart detection, and secure the whole system. You’ll get practical settings and trade‑offs that hold up in real homes and small offices.
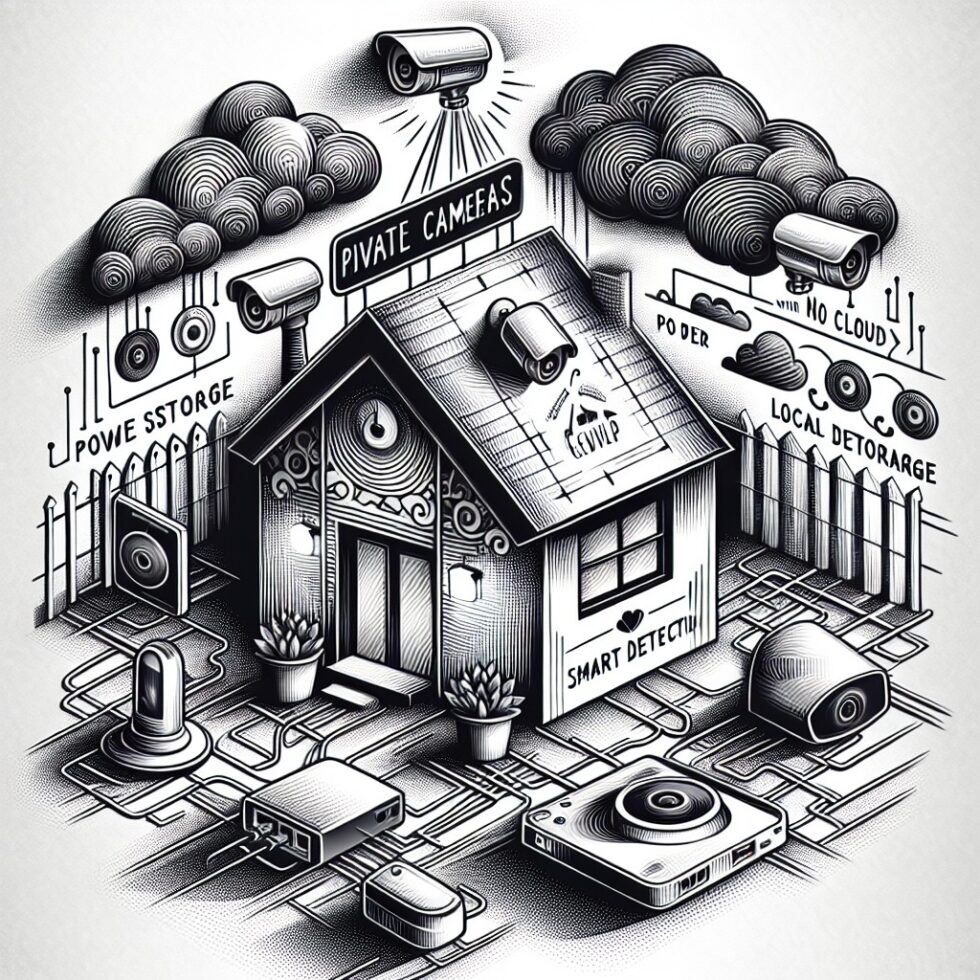
What a Private NVR Gives You
A private NVR is a small server that records streams from your cameras over your local network. It’s wired, so it avoids Wi‑Fi flakiness. It’s private, so nothing is uploaded by default. And when designed well, it’s dependable: cameras stay online during internet outages, motion clips are accurate, and storage retention is predictable.
- No subscription: you own the hardware and storage.
- Local AI: detect people, pets, and vehicles without a cloud.
- Wired power + data: a single PoE cable per camera is simple and robust.
- Better footage: higher bitrates and settings that fit your site.
- Security by default: devices are isolated from the internet.
Plan Coverage, Not Just Cameras
Before you buy hardware, plan the scenes you need to capture. A great camera in the wrong place is a bad system. Start with outcomes: “Identify faces at the front door,” “read plates at the driveway gate,” or “verify deliveries.” Then pick positions and lenses to serve those jobs.
Prioritize entries and choke points
Cover approach paths, not entire yards. One camera at eye level near the door often beats a high, wide shot. For vehicle areas, focus on the lane where cars slow down. Wide fences and open lawns are usually situational awareness, not identification.
Choose lenses for the scene
Fixed 2.8 mm lenses give a wide view, but faces become tiny at a distance. A varifocal camera (e.g., 2.8–12 mm) lets you zoom to fill the frame with what matters—doorways, pathways, or plate angles. If you can, buy varifocal for key spots and fixed lenses elsewhere.
Light is the hidden problem
Backlit doorways, streetlights, and headlights destroy detail. Look for cameras with WDR (wide dynamic range) and test during dawn, dusk, and nighttime. Built‑in IR is useful, but it attracts insects and can reflect off walls. Sometimes it’s better to turn IR off and add a separate IR illuminator placed away from the lens to cut spider webs and glare.
- Mounting height: 2.2–2.7 m (7–9 ft) is a good range. Lower gives better faces; higher resists tampering.
- Angles: 10–20 degrees off perpendicular reduces headlight blowout on driveways.
- Privacy zones: define masked areas for neighbor windows and sidewalks.
Wired Beats Wireless: PoE Done Right
Power over Ethernet (PoE) carries data and power on the same cable. That means no outlets near cameras and fewer things to fail. Get this part right, and your system will feel boring—in the best way.
Pick the right standard and power budget
Most cameras use 5–8 W with IR off, and 10–13 W with IR on. A few motorized or PTZ models need more. Choose a switch with margin:
- 802.3af (PoE): up to ~15.4 W per port.
- 802.3at (PoE+): up to ~30 W per port, good default for modern cams.
- 802.3bt (PoE++): up to 60–90 W per port; usually overkill unless PTZ or accessories.
If you plan 6 cameras at 13 W max each, that’s 78 W peak. A 16‑port PoE+ switch with a 120–150 W budget is comfortable and leaves room to grow.
Cable and connectors matter
Use solid copper Cat5e or Cat6 rated for your environment (indoor/outdoor). Avoid CCA (copper‑clad aluminum). Outdoor runs should be UV‑rated; consider shielded cable if you expect strong interference. Keep runs under 100 m (328 ft). Crimp properly or use keystone jacks; cheap connectors cause intermittent drops that are hard to diagnose.
UPS for cameras and NVR
Put the PoE switch and NVR on a small UPS. Even 15–30 minutes of backup handles most blips and preserves your recordings when the power flickers. Add surge protection where cables exit the building, and drip loops to keep water out.
Segment the network
Place cameras and the NVR on a VLAN or dedicated switch. Block internet access for cameras entirely. Allow the NVR to reach the internet for updates, but keep control tight. Provide a local NTP source so timestamps stay accurate without exposing cameras online.
Choose Cameras That Play Nice
Your goal is simple: standardized streams and events you can record and search. Look for RTSP or RTMP video streams and ONVIF support for discovery and motion events. Skip any camera that only works with a proprietary cloud app.
Specs that actually matter
- Resolution: 4MP (2560×1440) or 8MP (3840×2160) are common. 4MP at 15–20 fps is a sweet spot for identification with lower storage needs.
- Substreams: You want a low‑resolution substream (e.g., 640×360) to save compute for motion and AI while keeping a high‑quality main stream for recording.
- WDR and low light: Check vendor samples at night and at dusk—not just daytime.
- Lens: Varifocal for critical zones; fixed for general scenes.
- Privacy masks: Hardware‑level masking is ideal and enforced on all streams.
- Audio: Useful at doors, but check local laws. If in doubt, disable.
- Edge buffering: Some cameras support ANR (buffer to SD card during outages and backfill). It’s not required, but it helps.
Codecs and key settings
H.265 usually saves 20–40% storage vs. H.264 at the same visual quality. It’s great when your NVR hardware can decode it efficiently. If your CPU struggles, use H.264.
- Bitrate: Start with 4–8 Mbps for 4MP, 8–12 Mbps for 8MP; adjust after testing.
- Frame rate: 15–20 fps is enough for identification and keeps storage reasonable.
- Keyframe interval (GOP): Set keyframes at the same rate as fps (e.g., 15–20). This improves seek and motion detection accuracy.
- VBR vs. CBR: VBR with a max cap keeps quality in complex scenes. CBR is predictable for storage math.
The NVR Brain: Software and Hardware Options
You have two broad paths: dedicated NVR appliances or a general‑purpose box running NVR software. Appliances are simple but lock you in. A small PC—or a low‑power server—gives flexibility and better AI options.
Popular software that stays local
- Frigate (Docker, Linux): Modern, open, ties into Home Assistant, built for local AI detection. Excellent event filtering with zones and object types.
- Blue Iris (Windows): Mature, feature‑rich, great UI. Supports AI via plugins or external detectors, and extensive alert logic.
- Shinobi (Linux): Lightweight, flexible, script‑friendly.
- Scrypted (Linux/Windows): Great bridge to smart home platforms and on‑device AI plugins.
Hardware acceleration and sizing
Video decoding is the heavy lift. Choose hardware with acceleration so the CPU doesn’t melt:
- Intel Quick Sync: Efficient for multiple H.264/H.265 streams on small PCs.
- NVIDIA NVDEC/NVENC: Good for many cameras and AI workloads if you add a modest GPU.
- Edge AI accelerators: Coral TPU, Intel iGPU with OpenVINO, or NVIDIA GPUs with TensorRT speed up object detection dramatically.
As a rough guide, a modern low‑power Intel i5 with Quick Sync can handle 8–12 cameras at 4MP/15 fps for recording, especially if you use substreams for motion detection. Add a Coral USB for people/vehicle detection and it stays cool and responsive.
Storage you can trust
Use surveillance‑grade drives (e.g., WD Purple, Seagate SkyHawk). They’re tuned for continuous writes. Avoid SMR drives for NVR workloads; choose CMR. You don’t need RAID for a home NVR if you can tolerate losing historical footage during a disk failure. Many people prefer a single larger drive with routine backups of snapshots and configurations. If you require uptime, consider RAID1 or RAIDZ and monitor drive health.
Retention math made simple
Storage needs depend on resolution, bitrate, number of cameras, and hours recorded. A practical approach is to record motion‑based clips with short pre‑ and post‑buffers, plus a low‑bitrate continuous substream for timeline context. Example:
- 4 cameras at 4MP, 6 Mbps each, motion only, 20% motion per day → roughly 250–300 GB/day.
- 20 days of retention → 5–6 TB usable storage. Add 20–30% headroom for growth.
Test your own scenes and adjust. Rain, trees, and busy streets increase motion; narrow fields of view reduce it.
Smart Detection Without the Cloud
Local AI solves the biggest pain of camera systems: false alerts. Instead of simple pixel changes, modern NVRs can detect people, vehicles, pets, or specific objects. You get fewer notifications and better clips.
Tuning that actually works
- Zones: Draw detection areas that ignore streets and trees. Keep them tight around paths and doors.
- Minimum size: Filter small blobs so rain and insects don’t trigger events.
- Events + confirmation: Require “person” plus “entered zone” to alert. For vehicles, use a “crossed line” event along the driveway edge.
- Day/Night profiles: Slightly different thresholds at night help with noise and headlights.
Accelerators and models
A Coral TPU can handle multiple 720p substreams for person/vehicle detection with low power. NVIDIA GPUs can run heavier models or license plate detection if your jurisdiction allows it. Stick with maintained models and keep compute on the NVR. Avoid sending frames to external services unless you must—and if you do, mask private areas first.
Secure by Default
Security starts with reducing attack surface. Most cameras are simple Linux devices that shouldn’t see the public internet. Lock them down from day one.
Baseline rules
- VLAN isolation: Cameras on their own network, no outbound internet. Only the NVR can talk to them.
- Unique credentials: Per‑device usernames and strong passwords. Disable unused accounts (e.g., “admin”).
- Turn off P2P/cloud: Disable vendor “P2P” features that punch outbound holes.
- Firmware updates: Schedule controlled updates during daylight and verify streams afterward.
- Logs and alerts: Watch for camera disconnects, frame drops, and authentication failures. Alert on unusual spikes.
- Time sync: Provide a local NTP service; synced timestamps matter for evidence.
Most cameras still use RTSP without TLS. That’s okay on an isolated VLAN. If you need viewing outside your LAN, publish through your NVR’s secure portal or VPN, not direct camera ports.
Reliable Recording in the Real World
Nature loves to break camera systems. A little prevention goes a long way.
- Prebuffer: Record 5–10 seconds before motion and 10–30 seconds after. This catches the whole event.
- IR strategy: Move spiders off the lens by disabling camera IR and using an external IR source a few feet away.
- Glare and dew: Slight downward tilt plus hoods help. Clean the dome/turret glass monthly.
- Weatherproofing: Use proper junction boxes and gaskets. Avoid pointing domes at bright sky edges that create reflections.
- Night profiles: Lower shutter speed can improve low light, but fast motion may blur. Balance for your scene.
Apartment and Renter‑Friendly Options
You can still go private without drilling into shared walls.
- Indoor PoE cams: Run slim Cat6 along baseboards using adhesive raceways to a small PoE switch. Aim at doors and interior halls.
- Through glass: Turn off IR to avoid reflections; use exterior lighting or an external IR source.
- PoE injectors: Power a single camera without buying a full PoE switch.
- Portable NVR: A mini PC with a 2.5″ surveillance drive can sit on a shelf and move with you.
Integrations That Add Real Value
Once you have reliable events, connect them to your smart home—without making the NVR fragile.
Practical automations
- Doorbell + person: If the doorbell rings and a person is detected, show the live view on a tablet or TV.
- Driveway + vehicle: When a vehicle enters after sunset, turn on path lights for 5 minutes.
- Package zone: When an object appears in the “drop zone” and persists for 30+ seconds, send a snapshot.
Prefer event‑driven automations over constant stream processing. Keep the NVR’s primary job—recording—separate from automation logic so each can fail independently without taking down the other.
Costs That Make Sense
Ballpark budgets help set expectations. Prices vary by region and brand, but the shape of the spend is consistent.
- Cameras: $60–$200 per 4MP/8MP turret or bullet; varifocal often adds $20–$50.
- PoE switch: $120–$250 for an 8–16 port PoE+ switch with a ~120–150 W budget.
- Cabling and boxes: $30–$100 per run with quality cable and weatherproof boxes.
- NVR hardware: $250–$600 for a used/refurb small PC with Quick Sync and a surveillance HDD; add $60–$130 for a Coral TPU if desired.
- UPS: $100–$180 for enough runtime to ride out short outages.
Per camera, total cost often lands between $200 and $400 installed, including a share of the NVR and switch. Still far less than multi‑year subscriptions—and you keep your data.
Maintenance and Metrics
Check the system monthly. It takes five minutes and saves you the headache of missing the clip you needed.
- Camera health: Uptime, link speed, last reboot. Investigate frequent disconnects.
- Recording stats: Dropped frames, bitrate, motion ratio. Adjust zones if motion spikes.
- Storage: SMART status, bad sectors, drive temperature, days retained vs. target.
- AI accuracy: False/true positives count. Tighten zones or thresholds seasonally.
- Firmware: Batch updates on a test window. Confirm streams and events afterward.
Checklist: Live in a Weekend
- Map scenes and choose 2–3 critical camera spots.
- Buy a PoE+ switch with 30–40% power headroom.
- Run solid copper Cat5e/Cat6 and weatherproof junction boxes.
- Install cameras; set resolution, bitrate, FPS, and keyframe interval.
- Spin up NVR software (Frigate, Blue Iris, etc.) on a small PC with hardware decoding.
- Configure substreams, motion zones, and pre/post buffers.
- Isolate cameras on a VLAN; block internet; set NTP; create unique credentials.
- Attach a surveillance‑grade HDD; set retention and auto‑prune.
- Add local AI (Coral or GPU). Tune detection for people and vehicles.
- Test during day, dusk, and night. Adjust WDR, IR, and zones.
Summary:
- Wire your cameras with PoE for reliability; size your switch’s power budget with margin.
- Plan coverage around entry paths and identification goals, not just wide area views.
- Pick cameras with RTSP and ONVIF; use varifocal lenses where identification matters.
- Use hardware video decoding and surveillance‑grade CMR drives in your NVR.
- Record motion with buffers; keep a continuous low‑bitrate substream for context.
- Run local AI to reduce false alerts; tune zones, sizes, and day/night profiles.
- Isolate devices on a VLAN, block internet egress, and maintain unique credentials.
- Maintain monthly: camera uptime, storage health, event quality, and firmware updates.