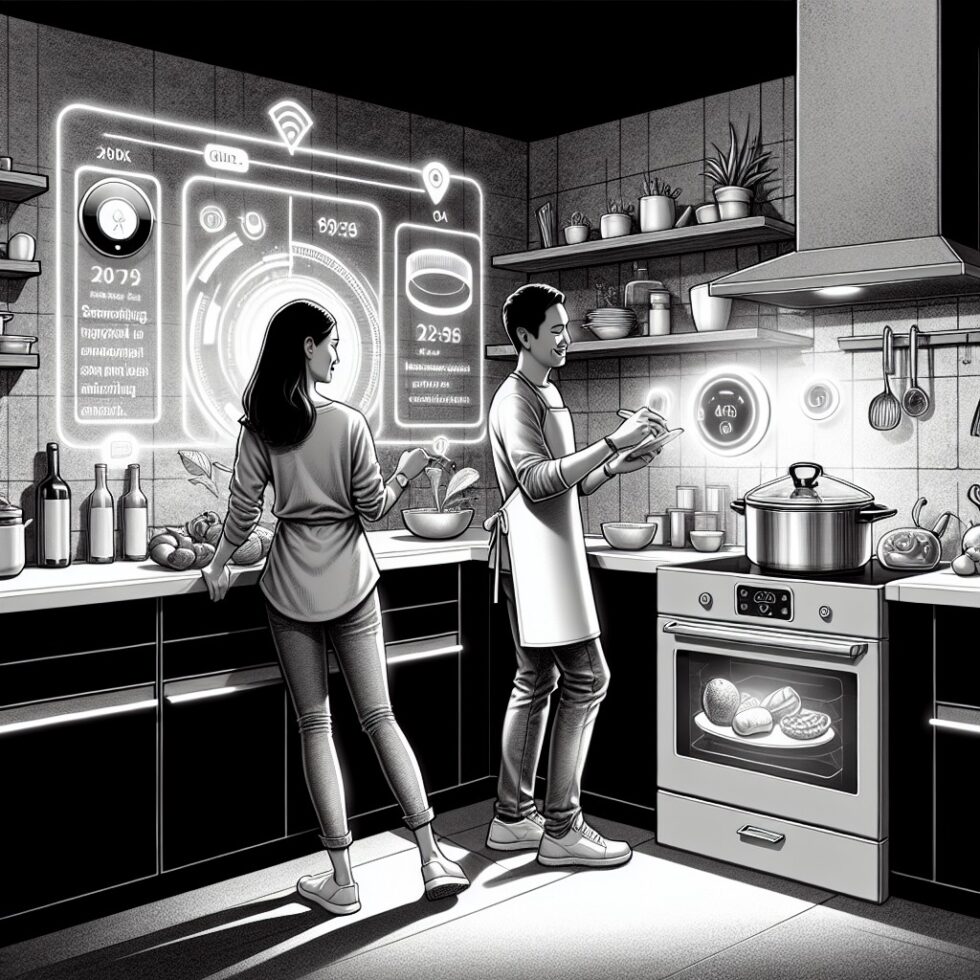
Why the Kitchen Is Becoming a Home Lab
Home cooking has entered a new chapter. Affordable sensors, connected appliances, and simple AI tools are changing how we plan, prep, and cook. It’s not about flashy gadgets. It’s about reproducible results, food safety, and less stress when you host friends or feed kids. The best part? You can build this “home food lab” gradually without remodeling or buying into a single brand’s ecosystem.
This article walks you through the tools that matter, the workflows that actually help, and the guardrails that keep meals safe. Whether you’re staying on budget, managing a special diet, or just tired of guessing doneness, you’ll find practical steps to start today.
The Modern Countertop Toolkit
Heat you can trust
Precision heat is the foundation of consistent cooking. Two devices have become dependable workhorses at home:
- Induction burners: Quick response, efficient power use, and better temperature control than many gas or coil stoves. Many models support fine-grained power steps, which makes delicate tasks—like simmering or candy making—far easier.
- Sous vide circulators: A wand clips to a pot, heating and circulating water to a set temperature. It removes guesswork from steaks, chicken, and delicate proteins. Set the temp, bag the food, and let it hold safely until you’re ready to sear and serve.
Temperature ends guesswork
Kitchen thermometers turn “I think it’s done” into “I know it’s done.” Consider these types:
- Instant-read probe: The fastest way to check doneness and avoid overcooking. Look for a thin tip and sub-second reads.
- Leave-in probe with wireless base: Logs temperature while food cooks. Useful for roasts, whole birds, and bread.
- Infrared thermometer: Reads surface temperature—great for pans, pizza stones, and griddles—but not a substitute for internal temps.
Tip: Calibrate your instant-read by checking ice water (32°F / 0°C). If it’s off, adjust or note the variance.
Air and moisture control
Many recipes depend on humidity or airflow. A few tools make a big difference:
- Proofing box or fermentation chamber: Keeps dough or cultures warm and stable. A simple insulated cooler, a heat mat, and a plug-in thermostat can do the job.
- Convection countertop oven or air fryer: Fans reduce hot spots. They help with crisp textures without running a full-size oven.
Scales and timers that sync
A reliable digital scale and a couple of timers remove friction. Some smart scales can send measurements to an app. That’s convenient, but don’t lock your recipes into one brand. A simple scale plus a note-taking app or spreadsheet works fine and keeps your data portable.
Cameras are optional
Cameras can help if you’re logging sourdough rise or watching sugar color in candy making. But most kitchen wins come from better heat control and temperature data, not from computer vision. Start with sensors first.
Tiny Sensors Make Food Safer and Better
Core temps and carryover cooking
Internal temperature is the most reliable measure of doneness and safety. After you pull a roast from heat, carryover cooking can raise the core temperature by several degrees. Plan for it. If you want a final 135°F (57°C) for medium-rare beef, you might pull at 130°F (54°C) and rest. For poultry, err on the side of safety and always confirm final temps.
Ambient control for proofing and fermenting
Yeast, bacteria, and molds are living actors in your home lab. They prefer specific temperature and humidity. A dough that doubles in two hours at 78°F might crawl at 70°F. A simple humidity and temperature sensor in your proofing box will give you repeatable timing. No need for exotic hardware—a reliable plug-in thermostat and a basic sensor get you most of the way there.
pH and salinity for pickles and hot sauce
Fermentation isn’t just “leave it on the counter and hope.” A pH meter and a salinity checker let you control acidity and brine strength. Lower pH (< 4.6) helps inhibit harmful bacteria. For pickles and hot sauce, consistent salinity also stabilizes flavor and texture. Keep meters clean, calibrate them with standard solutions, and store them properly so readings stay reliable.
Air quality matters
Cooking generates smoke, moisture, and volatile compounds. If your kitchen feels stuffy after searing or frying, an air quality monitor can help you see the problem and actually use the vent hood at the right times. Good ventilation keeps smells from lingering and can reduce particulate exposure.
When not to automate
Not every task wants a sensor. Pancakes still ask you to watch the bubbles. Searing steak needs a hot pan and your nose. If you find yourself adding smart plugs to everything, step back. Focus on the few measures that change outcomes: internal temperature, ambient temperature for fermentation, and time.
AI That Actually Helps in the Kitchen
Recipe scaling and substitution
Large language models are decent at arithmetic and pattern matching. They can scale recipes up or down, adjust shopping lists, and propose substitutions for allergies or preferences. Useful, but keep a critical eye. Ask AI to explain why it chose a replacement. Challenge it: “That swap reduces protein—what can restore it without changing texture?”
Taste memory and simple logging
Better cooking is repetition with notes. Jot down what you changed, internal temperatures at pull, rest duration, and feedback from people who ate. You can use an AI note-taker to summarize or categorize your logs (“citrus-forward,” “mild heat,” “kid-approved”). Over time, you’ll build a personal flavor library that guides tweaks. The key is discipline: short, regular notes beat one perfect write‑up you never repeat.
Schedule planning for multi-dish meals
The hardest part of hosting isn’t one recipe—it’s timing five. Ask AI to create a simple prep timeline from your menu. Include oven preheat time, marinating windows, and rest periods. The goal is not perfection; it’s avoiding traffic jams at the stove. Keep a margin for surprises. If something slips, you still serve hot food.
Food safety guardrails
AI can hallucinate cooking times or temperatures. Don’t rely on it for safety-critical steps. Treat it like a helpful assistant—not an authority. Cross‑check any “new” advice against expert resources. If AI suggests a surprising shortcut, verify that internal temperatures follow established safe ranges. Never reuse marinade that touched raw meat without boiling it first, no matter how confident a bot sounds.
Build Your First Controlled Fermentation Box
Let’s turn a weekend into a lasting upgrade. A simple proofing/fermentation box keeps temperature stable for yogurt, sourdough, and pickles. It’s cheap, quiet, and easy to store.
What you’ll need
- Insulated container: A large cooler or foam box with a lid.
- Heat source: A seedling heat mat or low‑watt bulb enclosed safely.
- Controller: A plug‑in thermostat with a temperature probe.
- Thermo‑hygrometer: To monitor humidity and verify your controller’s reading.
- Racks or a trivet: Keeps jars off the heating surface.
- Sanitizer and clean towels: For a hygienic start and easy clean‑up.
Setup and calibration
- Probe placement: Mount the controller’s probe near the center, not touching the heat source.
- Ice and warm checks: Compare your sensor’s reading against ice water (32°F / 0°C) and warm water at known temps. Note any offsets.
- Deadband settings: Set a small buffer (e.g., ±1°F) so the heat mat cycles gently without overshooting.
- Test run: Let the box hold 78°F (25.5°C) for an hour. Log the readings every 10 minutes to confirm stability.
Using the box
For yogurt, heat milk on the stove to the required temperature, cool to inoculation range, then incubate in jars inside the box for 6–12 hours. For sourdough, place your starter in a clean container, feed on schedule, and watch for predictable doubling times. For pickles, ferment at room temperature ranges appropriate to your recipe; the box is handy if your home runs cold.
Cleanliness matters. Wash hands, sanitize containers, and keep the chamber dry between uses. Log your times, temperatures, and results. You’ll quickly learn what your cultures like best.
Cooking for Special Diets with Data
Macronutrients without the math headache
If you track macros or calories, sensors and simple AI can cut the busywork. Weigh ingredients with a scale, scan barcodes for standard items, and let an app sum totals. Ask AI to format a clear grocery list based on your typical weekly plan and any substitutions you need.
Sodium management
Salt isn’t just taste. It’s a major nutritional lever. If you’re limiting sodium, record salt added by weight, not by “pinches.” This makes recipes repeatable and easier to adjust. AI can help you create low‑sodium spice blends that preserve brightness and umami. Just verify ingredient labels and taste at the end with a small finishing sprinkle if needed.
Texture testing for gluten‑free baking
Gluten‑free doughs behave differently. A leave‑in probe and timer can prevent drying out. Log ambient humidity and resting times, too. Over a few bakes, your notes will uncover the small timing changes that turn a crumbly loaf into a tender one.
Privacy and Reliability in the Kitchen
Use the cloud carefully
Cloud features are handy, but dinner shouldn’t depend on a server you don’t control. Choose devices that work offline for core tasks like temperature control and timers. If an app goes down, you still cook. Keep firmware updated and change default passwords where applicable.
Data you actually need
Keep your logs lean. Store times, temperatures, weights, and short taste notes. You don’t need live audio or continuous video. If you do store photos, keep them on your phone or computer. The kitchen is a private space; treat it that way.
Child‑safe choices
Favor devices with auto shut‑off and over‑temperature protection. Route cords safely. Use probe wires that don’t tangle. Never block vents or place towels near heating elements. Good lab safety is good kitchen safety.
Costs, Energy, and Smart Buying
Start with the essentials
- One instant‑read thermometer: The single most transformative tool for safety and consistency.
- One precision heat source: Choose an induction burner or a sous vide circulator based on what you cook most.
- One sturdy scale: Aim for 0.1 g resolution for baking and a 5–10 kg capacity for bulk prep.
These three cover 80% of the value. Add a leave‑in probe later if you love roasts or barbecue. Build a fermentation box if you enjoy bread, yogurt, pickles, or hot sauce.
Energy and time
Induction targets the pan, not the air, so you often heat faster with less waste. Countertop convection appliances warm up quickly and keep hot air close to the food, which can save time compared to a big oven. Sous vide can seem slow, but it’s flexible—your protein holds at temperature while you prep sides, reducing stress and overcooking.
Avoiding lock‑in
Brand ecosystems promise convenience but can trap your recipes, logs, and even hardware compatibility. Favor devices that work with generic plugs, standard bags (for sous vide), and open file formats for notes. If you switch apps later, your data comes along.
Common Mistakes and How to Avoid Them
- Trusting surface cues for doneness: Browning is not a guarantee. Always check internal temperature.
- Ignoring carryover: Pull proteins a few degrees early and rest covered. Your notes will confirm the pattern for your setup.
- Skipping calibration: A minute with ice water pays off with every cook. Write the offset on a piece of tape on the device.
- Over‑automating: Use sensors for heat and time. Keep hands and eyes open for texture, aroma, and bubbling cues.
- Bad sanitation habits: Clean thermometers between checks. Keep raw and cooked utensils separate. Sanitize jars before fermenting.
- Believing every AI suggestion: Ask for sources and compare to trusted guidelines for safety‑critical steps.
AI Workflows You Can Trust Today
Menu compilation and inventory
Feed AI a short list of what’s in your pantry and your constraints (budget, vegetarian, no nuts). Ask for a 3‑day plan with leftovers and a single grocery run. Then cut it down—your goal is fewer decisions, not a complicated calendar.
Recipe normalization
Paste a recipe and have AI convert cups to grams, merge duplicate steps, and create a clean checklist. Ask it to add “thermometer checks” at the right moments and include safe minimum internal temperatures as reminders. If the output conflicts with known safe ranges, keep the authoritative numbers and ignore the rest.
Post‑cook recap
After a meal, dictate a 30‑second recap: “Pulled chicken at 160°F, rested to 165°F, sauce too sweet, next time cut sugar by 20%.” AI can summarize and tag it. This micro habit builds a powerful memory, especially for holiday dishes you cook once a year.
What’s Next for the Home Food Lab
Innovation is moving from novelty to usefulness. Expect smarter ovens that actually hold set temperatures and report heat distribution. Look for probe thermometers that estimate doneness time by modeling thermal curves. Early aroma and color sensors will start showing up in devices and apps, giving objective cues for caramelization and oil degradation. Meanwhile, the biggest gains will still come from good basics: reliable heat, accurate measurement, clean logs, and a few well‑chosen automations.
It’s easy to chase gadgets. Instead, chase repeatability. The core idea of the home food lab is simple: make your next attempt better than the last, with less stress and more confidence.
Summary:
- Start with essentials: a good instant‑read thermometer, one precision heat source, and a reliable scale.
- Use sensors for the big levers: internal temperature, ambient temperature for fermentation, and time.
- Build a simple fermentation box for stable doughs, yogurt, and pickles; calibrate and keep it clean.
- Let AI help with planning, scaling, and note summaries, but cross‑check safety‑critical details.
- Favor offline‑capable, non‑locked‑in devices that keep working if apps or servers fail.
- Log small details—temps, times, and taste notes—to turn wins into repeatable habits.